 | |
| Merkmale Installation Herunterladen Lizenz Schneller Start Optionen Einstellungen Beobachtet Folders Schriftarten Job Kontrolle In PDF Drucken Überall Unterstützung Entwicklers API FAQ | |
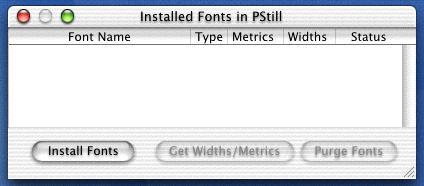
| Font Management 1. Choose Tools->Font Management... or COMMAND-F When you first install PStill or when you install new fonts on your system, you need to update the information available to PStill for conversion. Font Management panel shows you the fonts available, and lets you access the updating functionality. If no fonts are installed (which will produce output that has large, ugly dots instead of text), the panel will look like this: | |||||
 | |||||
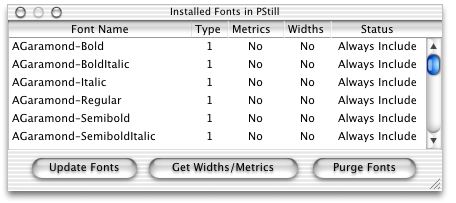
| Click Install Fonts for PStill to search /Network/Library/Fonts, /Local/Library/Fonts, and your home folder Library/Fonts. Valid PS fonts will be linked into the PSFonts directory inside the PStill.app/Resources folder - no extra disk space is required for this, because its just a symbolic link. | |||||
 | |||||
| Click Get Widths/Metrics for PStill to compile important information into <FONTNAME>.metrics and <FONTNAME>.widths files that also reside in the PStill.app/Resources directory. This may take a few moments, but you only do it once - unless you add more fonts, and then you do it again. | |||||
 | |||||
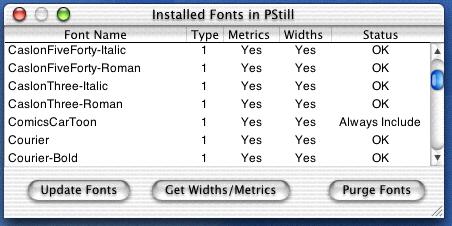
| Note that now you can see if a font is type 1 or type 3, whether it has valid metrics and widths, and whether it will be automatically included or whether it must be converted to paths/bitmaps because its a type 3 font. Purge Fonts clears out the PStill.app/Resources/PSFonts directory and then you can reinstall the fonts. You can always click Update Fonts or Get Widths/Metrics to update the information. HINT - you can always add a new font on the fly by just dropping into the table view. This will both link the font and calculate its widths and metrics. This is useful when you have custom fonts that are not in the standard font folder locations. | |||||