 |
 |
 |  |  |  |  |  |  |  |
 |
|
Part 3: The Background |
 |
|
Step 1
The next stage is to create a background for our multicoloured, cascaded waves.
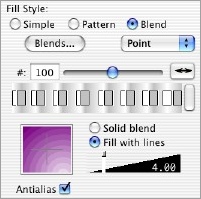
This is achieved by creating a ripple like blend (as in ‘Tree of Change’), by using pairs of colours - in this case grey and white.
The banded appearance is created by selecting ‘fill with lines’, as opposed to ‘solid blend’ and also setting the number of fill steps to around 100.
It is also a good idea to add a white fill behind the fill, to stop the colours interacting later on. |
| |

|
|  |
| |

|
 |
|
Step 2
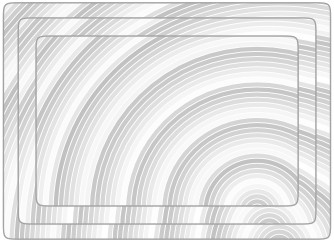
Now, to create a plinth like effect, duplicate the background rectangle we have just made a further two times, and make each one smaller than the last.
Then use the ‘align and distribute’ panel to centre the rectangles - or press ‘command’ and ‘D’.
(The rectangles in the picture are actually much smaller than the actual piece, as the banded appearance doesn’t show up well when reduced!) |
|
|
