 |
 |
 |  |  |  |  |  |  |  |  |
 |
|
Part 4: Casting Shadows |
 |
| |

| |
Step 1
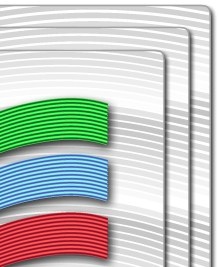
Firstly, arrange the main two components so that the cascaded waves are above the background rectangles, and centre the whole thing (by using the align and distribute panel again).
The finishing touch is to add some drop shadows, to the cascaded waves and also each individual tier of the background plinth. Adding drop shadows to the plinth is a synch with Create’s new drop shadow tool - simply go to Object -> Quickies -> Drop Shadow for each tier.
However, the cascaded waves are a little more awkward. |
|  |
| | |

|
 |
|
Step 2
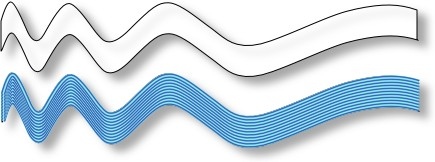
The reason the cascaded waves are more awkward is that they use the multi tool. At this moment in time, an object within Create can have either a multi or drop shadow effect, but not both.
However, have no fear as there is a way around this - a couple in fact. To achieve this in Create you could use the spline tool to trace around one of the cascaded waves, add a drop shadow to the solid shape, and then position it beneath each cascaded wave - as shown in the picture above.
The other method is to copy and paste all of the cascaded waves into Photoshop (if you have it), and add the shadows from there - but it’s not much harder to do it in Create. |
|
|