 |
 |
 |  |  |  |  |  |  |  |
 |
|
Part 2: Tree Refining |
 |
| |

|
Step 1
Now that we’ve drawn our tree using the spline tool, it’s time to give it some form and texture.
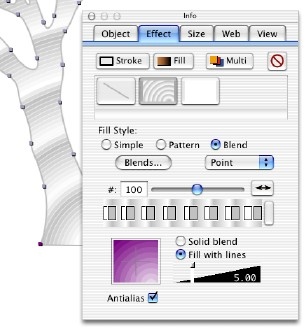
The cool banded appearance of the tree is created by adding a blended fill, set to ‘point’. By adding colours to the blend in pairs (grey and white), the blend appears to have ripples just like thowing stones into water.
To make the ripples banded as in the picture, select ‘fill with lines’ (as opposed to ‘solid blend’) and set to a line width of about 5 pt. |
|  |
|
Step 2
Now we’re going to introduce some perspective by creating a shadow for our tree.
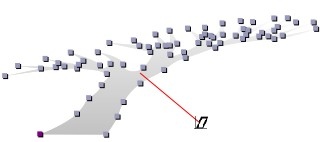
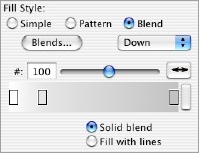
Duplicate the original tree (i.e. copy and paste) and replace the banded appearance by a simple blend from light grey to white, also remove the outline (’stroke’).
Next select the ‘shear’ tool, and drag down and right until you have something that resembles the picture opposite. Now all that remains is to align the bottom of the shadow and the tree.
(Hint: you may want to use the scale tool to make the shadow smaller first). |
| |

|
| | | |

|
|
|