 |  |  |  |  |  |  |  |  |  |  |  |
 |
|
Part 3: The Matrix |
 |
|
Step 1
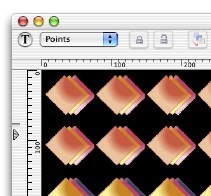
This is where things start to really take shape. Double click anywhere in the background of your Create doc to bring up the ‘View’ tab of the info panel. Then set the page background to black. We’re now ready to export the first stage of the drawing. | |

|
|
 |
| |

| |
Step 2
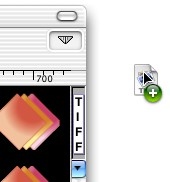
Export the whole matrix as a TIFF file by selecting ‘TIFF’ from the image export pop-up menu, and then dragging the image to the desktop off of the file well.
(Hint: before exporting, use the custom page layout dialog to make the page square). |
|
| | | | | | |

|
|
Step 3
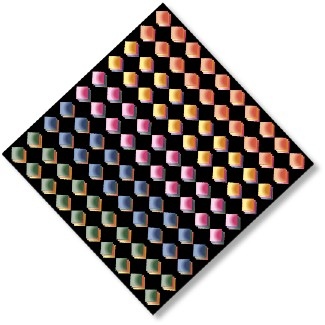
Now drag the TIFF file from the desktop back into a new Create doc, and rotate it 315º so that you have a diamond shaped matrix in the centre of the page.
Add a drop shadow by going to Object -> Quickies -> Drop Shadow. The first stage is now complete!
(Hint: change the fill added by the drop shadow from red to black to prevent a red halo effect). |