 |
 |
 |  |  |  |  |
 |
|
Part 5: Completing the drawing |
 |
|
Step 1
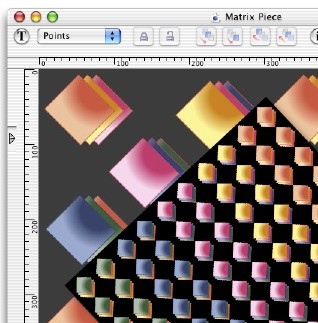
Double click on the background of the matrix Create doc, to bring up the view tab of the info panel. Then, click the ‘set image’ button and slect the background graphic which we created in part 4.
Now, unless something has gone pear shaped you should find you have something which closely resembles the piece ‘Matrix’ by Robert Curtis! |
|

|
|  |
|
Recap
By completing this piece you will not only have become more skilled at using Create, but also (hopefully) have been inspired by the potential of repeat patterns and matrixes in digital art.
Further tweaks
You may have noticed that the picture of the piece ‘Matrix’ on the first page has a slightly distorted background pattern, unlike the rendition above. This was done by importing the pattern into photoshop, and then applying a filter to it to draw attention to the matrix in the centre.
This is a simple case of copying and pasting the graphic from Create into Photoshop - it’s that easy. Then when you're ready, export the pattern from Photoshop and then set it as the background as in step 1. |
|
|