 |
 |
 |  |  |  |  |  |  |  |  |  |
 |
|
Details: Making SliceAndDice Rollover | |
Page: | |
1 |
|  |
| |
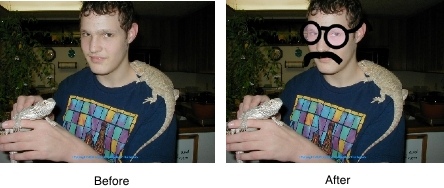
We used Create and SliceAndDice to make a rollover graphic.
1. Drag and drop the photo into a new Create document. Resize the photo as necessary.
2. Make a rectangle the size of the photo (or smaller, if you want to crop the photo).
3. Place the rectangle on top of the photo. Select both the rectangle and the photo. Make a Mask Group (Object->Group->Mask Group).
Note: we do this to make sure our original image and our rollover image are exactly the same size.
4. Put the image in SliceAndDice:
a. Select the image in Create.
b. Choose JPEG in the Image Well.
c. Drag and drop from the Image Well to a SliceAndDice window or the SliceAndDice icon in the dock.
5. Ungroup the Mask Group in Create and move the rectangle out of the way (we will use it again).
6. Put whatever graffiti you want on the image using Create’s drawing tools. We used the Freehand tool.
Note: We locked the photo before drawing on it; it made it easier to draw and manipulate the drawings. Be sure to unlock the photo when you’re done drawing. |
 |
| | |

|
|
|